Shopping Cart
There are no more items in your cart
- HOW TO DO
- 0 likes
- 4451 views
- 0 comments
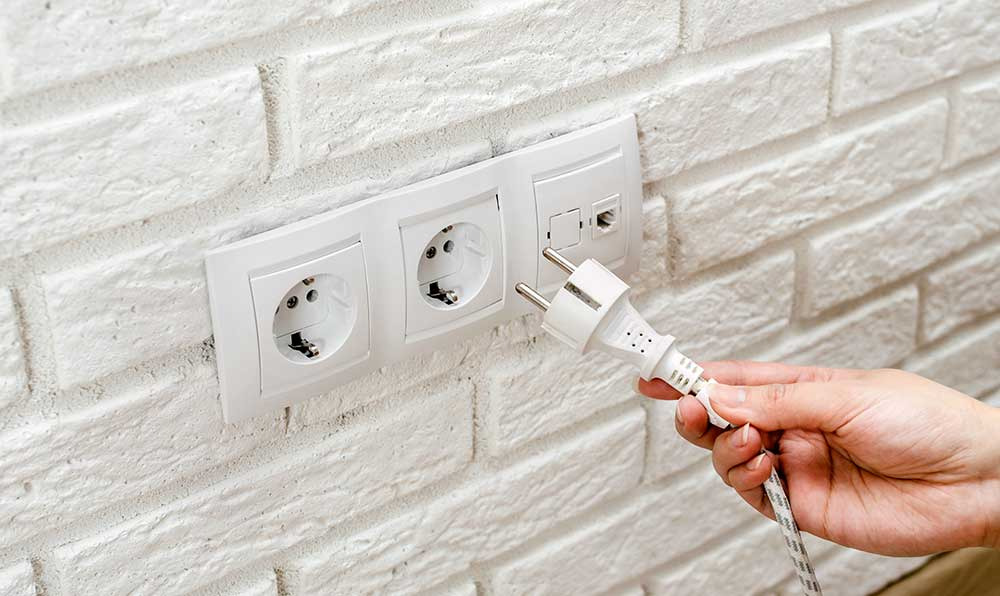
Steps to connect two sockets in sequence
The process of installing two electrical outlets in sequence requires care and precision to ensure safety and functionality. Below, we provide you with a clear and detailed guide on how to proceed.
1. Turn off the power supply
Before starting, it is essential to turn off the electricity supply to avoid the risk of electrocution. Check that you have disabled the correct circuit from the main control panel.
2. Prepare the necessary material
Gather all the necessary tools and materials before starting work. This includes screwdrivers, pliers, electrical wire, and of course, the outlets you plan to install.
3. Connect the first wire
Identify the socket terminals where you will connect the wires. Start by connecting the phase wire (usually brown or black) to the corresponding terminal on the first socket.
4. Connect the wires to the second socket
Once you have finished connecting to the first socket, move on to the second. Use a piece of wire to make the connection in sequence from the first to the second socket, making sure to respect the correspondence of the terminals.
5. Check the connections
Before reactivating the power supply, carefully check all connections made. Make sure they are safe and well insulated to prevent short circuits.
6. Socket test
After turning the power back on, it is important to test the outlets to confirm that they are working properly. Use a tester or a simple electronic device to check.
By following these steps carefully, you will be able to install two outlets in sequence without any problems. Remember, safety is always the priority; if you are not sure of your abilities, it is better to rely on a professional.
- Turn off the power supply
- Prepare the necessary materials
- Connect the first wire
- Connect the wires to the second socket
- Check the connections
- Socket test
Guide to Connecting Two Sockets in Sequence
Step 1: Creating Bridges at the Back
An effective method to avoid excessive use of cables when connecting two outlets in sequence is to create bridges on the back. Starting with the main presence, this must be attached to the cable coming from the wall - including live, neutral and earth. Next, the secondary presence must be connected to the main one through the use of bridges built with the same threads. You will notice that each terminal block has two holes to facilitate this procedure.
Step 2: Making Connections
Once the bridges have been completed, the next step involves screwing the bridge cables onto the secondary socket. We then continue by connecting the main presence to the phase of the electrical network. Immediately afterwards, we insert the jumper cable relating to the phase, which comes from the secondary socket. This process must also be carefully repeated for the earth and neutral cables, taking care to respect their respective colours.
Comments (0)